In this post, we’ll see how to stream the data in ASP.NET Core SignalR. With ASP.NET Core 2.1 released, SignalR now supports streaming content.
What is a Stream?
Streaming or media streaming is a technique for transferring data so that it can be processed as a steady and continuous stream. — webopedia.com
When to stream?
If the data will load with some latency, and we don’t have to wait for the content to arrive. For this scenario, we can use data streaming.
This can also be useful when we don’t want to get all the data at a time as this might be time-consuming. So, we’ll send the data in chunks/fragments from the server to the client.
Now, we’ll see how to set up the ASP.NET Core SignalR in Visual Studio.
Creating ASP.NET Core Application
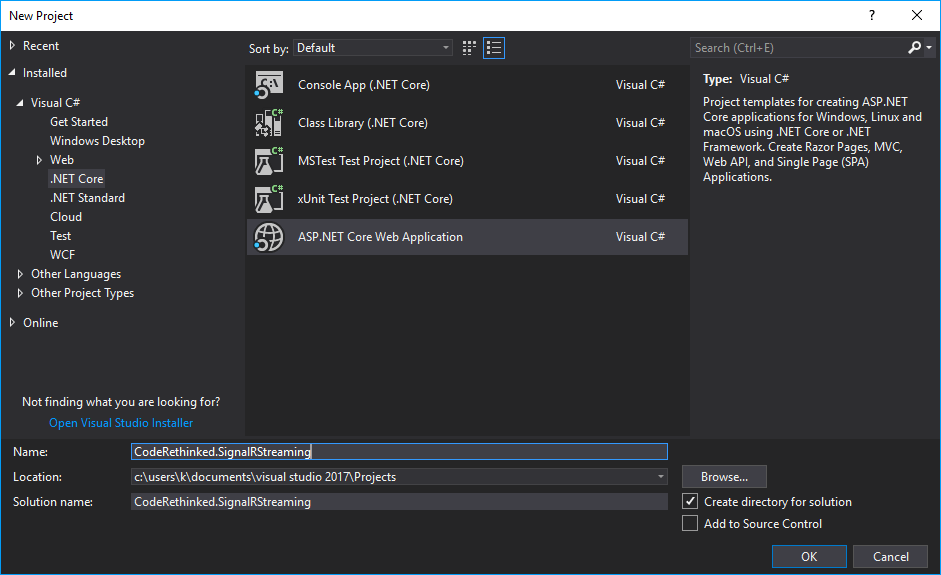
Let’s create a new project from File >> New Project in visual studio and give it a name.
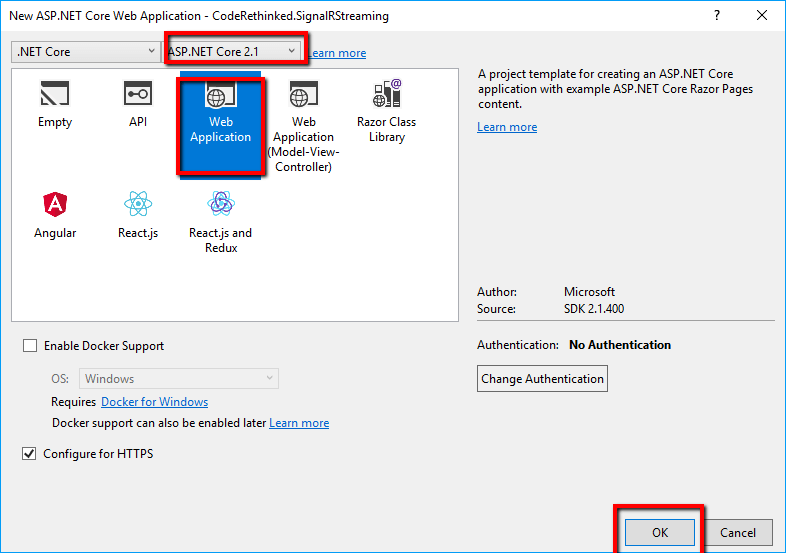
And now select Web Application from the templates and your framework as ASP.NET Core 2.1
Once you’re done with that you should have your project in the solution folder.
We’ll write our Hubs now.
Hub setup
Unlike normal signalR methods, the stream methods will be different as they have stream the content when the chunks of data are available.
- Create a C# file in the project with the name as
StreamHubor whatever. It is better to add it in a Folder though. - Derive that from
Hubclass and add a namespace in the file asusing Microsoft.AspNetCore.SignalR; - Now, create a method in the class with the return type as
ChannelReader<T>where T is the value returned. TheChannelReaderreturn type on a method makes a streaming hub method. Here is the code for streaming our data.
 public ChannelReader<int> DelayCounter(int delay)
{
    var channel = Channel.CreateUnbounded<int>();

    _ = WriteItems(channel.Writer, 20, delay);

    return channel.Reader;
}

private async Task WriteItems(ChannelWriter<int> writer, int count, int delay)
{
    for (var i = 0; i < count; i++)
    {
        //For every 5 items streamed, add twice the delay
        if (i % 5 == 0)
            delay = delay * 2;

        await writer.WriteAsync(i);
        await Task.Delay(delay);
    }

    writer.TryComplete();
}
DelayCounteris our streaming method, this takes a delay parameter to specify from the client end.WriteItemsis a private method, and this returns aTask.- The last line in the
WriteItemsis.TryComplete()on the stream says the streaming done and is closed to the client.
Configuring SignalR in the project
- Head over to the
Startupclass and locateConfigureServicesmethod and add the following line at the end (skip this if you can configure yourself).
services.AddSignalR();
- We also need to add a route for the signalR stream. Now, head over to the `Configure` method in the Startup class and add the following.
app.UseSignalR(routes =>
{
   routes.MapHub<StreamHub>("/streamHub");
});
Add SignalR client library
This is to add the signalR js on the client side.
Launch Package Manager Console (PMC) from the Visual Studio and navigate to the project folder with the following command
cd CodeRethinked.SignalRStreaming
Run npm init to create a package.json file
npm init -y
Ignore the warnings. Install the signalR client library with the following command
npm install @aspnet/signalr
The npm install command downloads the signalR client library to a subfolder under node_modules folder.
Copy the signalR from node_modules
Copy the signalr.js file from the <projectfolder>\node_modules\@aspnet\signalr\dist\browser to a folder in wwwroot\lib\signalr.
or
Alternatively, you could also make use of the Microsoft Library Manager (libman.json) to restore it for you.
If you don’t understand what libman.json is. Check this article on Libman.
So, your Libman for adding downloaded signalR should look like this.
{
  "version": "1.0",
  "defaultProvider": "cdnjs",
  "libraries": [
    {
      "provider": "filesystem",
      "library": "node_modules/@aspnet/signalr/dist/browser/signalr.js",
      "destination": "wwwroot/lib/signalr"
    }
  ]
}
Once you’ve saved libman.json our signalr.js will be available in the SignalR folder in lib.
HTML for streaming
Copy the following HTML into Index.chtml. For this article, I’m removing the existing HTML in Index.cshtml and adding the following.
@page
@model IndexModel
@{
    ViewData["Title"] = "Home page";
}

<div class="container">
    <div class="row"> </div>
    <div class="row">
        <div class="col-6"> </div>
        <div class="col-6">
            <input type="button" id="streamButton" value="Start Streaming" />
        </div>
    </div>
    <div class="row">
        <div class="col-12">
            <hr />
        </div>
    </div>
    <div class="row">
        <div class="col-6"> </div>
        <div class="col-6">
            <ul id="messagesList"></ul>
        </div>
    </div>
</div>
<script src="~/lib/signalr/signalr.js"></script>
<script src="~/js/signalrstream.js"></script>
Notice we have signalrstream.js at the end. Let’s add the js file to stream the content.
JavaScript setup
create a new signalrstream.js file in wwwroot\js folder. Add the following code into the js file.
var __awaiter = (this && this.__awaiter) || function (thisArg, _arguments, P, generator) {
    return new (P || (P = Promise))(function (resolve, reject) {
        function fulfilled(value) { try { step(generator.next(value)); } catch (e) { reject(e); } }
        function rejected(value) { try { step(generator["throw"](value)); } catch (e) { reject(e); } }
        function step(result) { result.done ? resolve(result.value) : new P(function (resolve) { resolve(result.value); }).then(fulfilled, rejected); }
        step((generator = generator.apply(thisArg, _arguments || [])).next());
    });
};

var connection = new signalR.HubConnectionBuilder()
    .withUrl("/streamHub")
    .build();
document.getElementById("streamButton").addEventListener("click", (event) => __awaiter(this, void 0, void 0, function* () {
    try {
        connection.stream("DelayCounter", 500)
            .subscribe({
                next: (item) => {
                    var li = document.createElement("li");
                    li.textContent = item;
                    document.getElementById("messagesList").appendChild(li);
                },
                complete: () => {
                    var li = document.createElement("li");
                    li.textContent = "Stream completed";
                    document.getElementById("messagesList").appendChild(li);
                },
                error: (err) => {
                    var li = document.createElement("li");
                    li.textContent = err;
                    document.getElementById("messagesList").appendChild(li);
                },
            });
    }
    catch (e) {
        console.error(e.toString());
    }
    event.preventDefault();
}));

(() => __awaiter(this, void 0, void 0, function* () {
    try {
        yield connection.start();
    }
    catch (e) {
        console.error(e.toString());
    }
}))();
As ASP.NET SignalR now uses ES 6 features and not all browsers support ES 6 features. So, in order for it to work in all browser, better to use transpilers such as babel.
Unlike traditional signalR, we now have a different syntax for creating a connection.
var connection = new signalR.HubConnectionBuilder()
    .withUrl("/streamHub")
    .build();
And for regular signalR connections, we’ll add listeners with .on method but this is a stream so we have stream method that accepts two arguments.
- Hub method name: Our hub name is
DelayCounter - Arguments to the Hub method: In our case argument is a delay between the streams.
connection.stream will have subscribe method to subscribe for events. We’ll wire up for next, complete and error events and display messages in the messagesList element.
connection.stream("DelayCounter", 500)
    .subscribe({
        next: (item) => {
            var li = document.createElement("li");
            li.textContent = item;
            document.getElementById("messagesList").appendChild(li);
        },
        complete: () => {
            var li = document.createElement("li");
            li.textContent = "Stream completed";
            document.getElementById("messagesList").appendChild(li);
        },
        error: (err) => {
            var li = document.createElement("li");
            li.textContent = err;
            document.getElementById("messagesList").appendChild(li);
        },
});
The code before/after the stream connection is related to async and starting a connection as soon as we hit the js file.
Here is the output of the stream
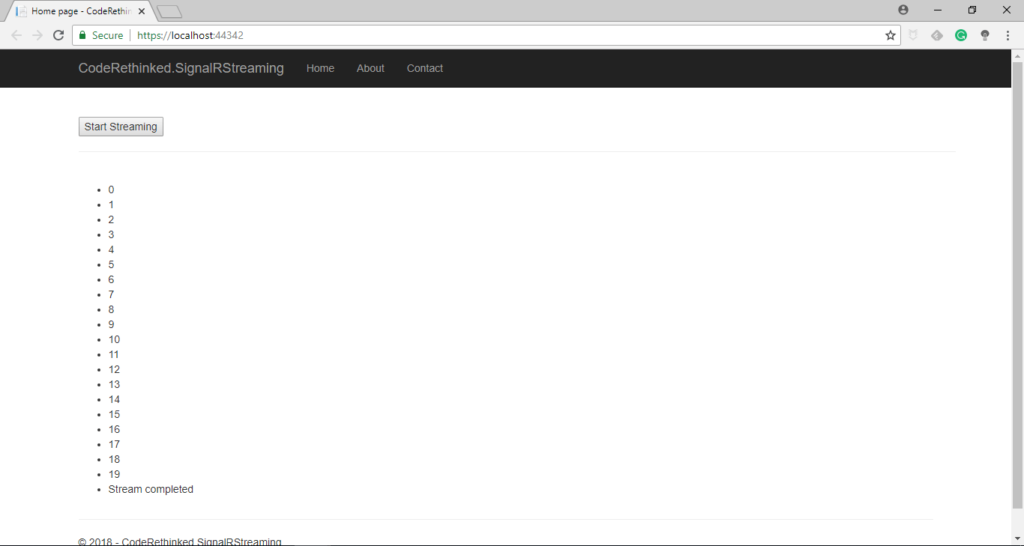
See it in action
I’ve changed the StreamHub class to have the count up to 10 in above gif image so it won’t take any longer.
Notice the delay from the item 6-10 when streaming this is because we’ve doubled the amount of delay for every 5 items. We can think this of as streaming the data only when available. So, it streams the 6th item when it is available.
So, for sending large data to the client, it’s better to opt for streaming instead of sending the data at once.
Source code
source code on github. I’ve removed the npm_modules from the solution to make it lightweight so install the npm modules with the following command and start the solution.
npm install
Takeaway
Streaming the content is not new, but it is in signalR now and a great feature. Streaming will keep user experience cool and also our server won’t have those high bars (peak timings).
Most of the developers know the limitations of SignalR not being able to transmit a huge amount of data.
With ASP.NET Core SignalR, streaming the data from the server to client overcomes the problem of transferring all the content at once.
I’d recommend going for streaming content when you think your data is large or if you want some user experience without blocking the client by showing endless spinners.
Karthik is a passionate Full Stack developer working primarily on .NET Core, microservices, distributed systems, VUE and JavaScript. He also loves NBA basketball so you might find some NBA examples in his posts and he owns this blog.


