As the name says, role-based authorization authorizes a user based on the role defined to the user.
Creating roles and users in ASP.NET Core with Identity
For this article, I’ve created a new ASP.NET Core app in .NET 6 with Individual Accounts as the Authentication type, which will create the roles, users, and other tables in the local database.
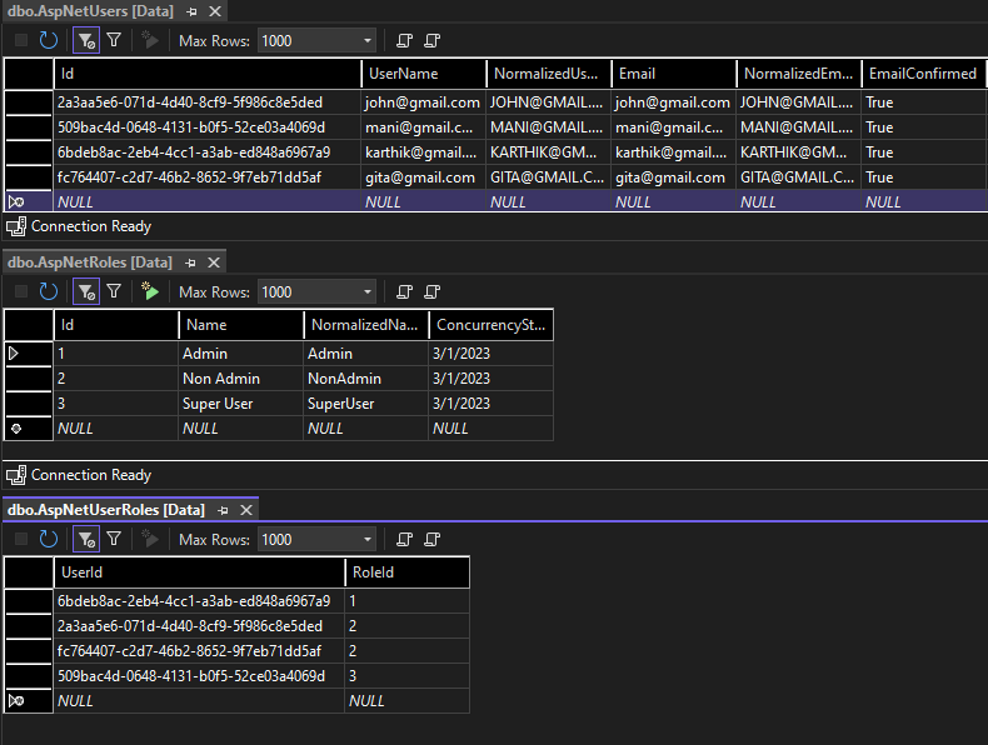
Here are the user and roles tables. I’ve added a few users and roles for our blog post.
roles and users
Configuring role-based authorization in program.cs or startup.cs
Let’s see how we can use the role-based authorization in the asp.net core web app.
In the Program.cs file, we have the following line indicating the default identity is added to the application (this is added to my project by default because I’ve created a brand new one with Individual Accounts)
And we’ve to register useAuthorization() between UseRouting and UseEndpoints otherwise, we might run into the following issue.
Configure your application startup by adding app.UseAuthorization() in the application startup code. If there are calls to app.UseRouting() and app.UseEndpoints(…), the call to app.UseAuthorization() must go between them
Decorating controllers and Razor pages for Role-based authorization
Setting the Roles property on the Authorize attributes is how we set the role-based authorization.
Ex: [Authorize(Roles = "Admin")]
For controllers, we can decorate the controller class like this
[Authorize(Roles = "Admin")]
public class HomeController : Controller
{
  [Route("index")]
  public IActionResult Index()
  {
      return View();
  }
}
User having access invoking the Index action will see the below page
user having access to role
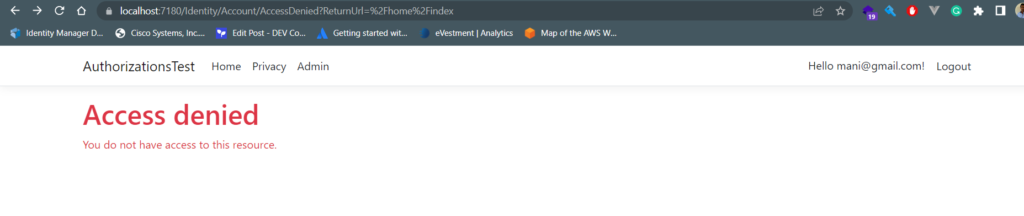
The user who does not have access to the Admin role receives the following access denied error.
user does not have access to role
Or we can have the Authorize on the action methods too.
[Authorize(Roles = "SuperUser")]
[Route("time")]
public IActionResult Time() => Content(new TimeOnly().ToLongTimeString());
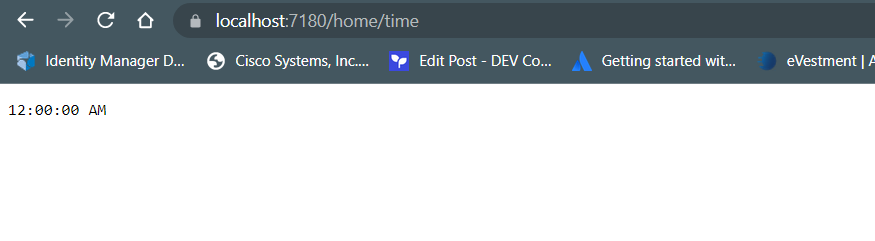
The user having a superuser role sees the current time on the Time action.
user has access to superuser role
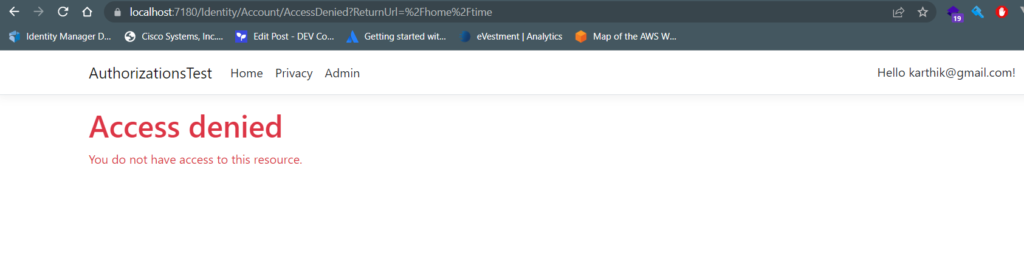
A user without a superuser role sees the following accessing the time action.
user has no access to superuser
That’s how we add role-based authorization to the controllers.
Similarly, we can add the authorizations to the razor page. But, we cannot add an Authorize attribute on the page handler methods.
Here is the warning if we tried to add the Authorize attribute on the page handler methods.
“MVC1001 ‘AuthorizeAttribute’ cannot be applied to Razor Page handler methods. It may be applied either to the Razor Page model or applied globally.”
Error when decorating authorize attribute over the Razor Page handler methods
How to apply multiple roles
To apply an OR between the roles to a single action we have to separate the roles by a comma
[Authorize(Roles = "SuperUser, Admin")]
public IActionResult Time() => Content(new TimeOnly().ToLongTimeString());
The time action is accessible to users who have either SuperUser or Admin roles
To apply an AND between the roles, we stack the Authorize attribute on the action/controller.
Karthik is a passionate Full Stack developer working primarily on .NET Core, microservices, distributed systems, VUE and JavaScript. He also loves NBA basketball so you might find some NBA examples in his posts and he owns this blog.
The question is vague to answer. But, if you want to enable a few items only after a user has signed In then you can try the following code in Razor pages


Pingback: Dew Drop – March 6, 2023 (#3893) – Morning Dew by Alvin Ashcraft
Bro ! I need help on this! Users should be able to see items which they enter when they are loggedin.
The question is vague to answer. But, if you want to enable a few items only after a user has signed In then you can try the following code in Razor pages
@if (SignInManager.IsSignedIn(User))
{
Hello user
}