While feature flags allow us to turn a feature on/off in real-time without any code changes. Feature filters go one level deep on the feature flags.
Feature filters allow us to filter/limit a feature to a specific group. This allows us to control who has access to the features.
Ex: We can limit the number of people who can see the feature or we can show the feature when the temperature is too hot. You can pretty much do like an if-this-then-that kind of thing with it.
There are three default feature filters available in ASP.NET Core. However, we can create custom feature filters.
In this post, we will see how to create a new custom feature filter with FeatureManagement package.
Takeaways
1. What are custom feature flags and uses.
2. By the end of this article, you should be able to create a custom feature filter and configure the necessary steps required to make it work.
Prerequisite
If you are unaware of what feature management or feature flags are you should first consider reading our comprehensive guide to feature management in asp.net core.
A prior understanding of feature management will make it easy to understand custom feature filters in asp.net core.
Use Case for custom feature filter
Let’s say we want to show a secret feature to only specific people in the organization.
For this article, I’ll create a new asp.net core application with asp.net core identity and create a couple of users. I’m not going to show you how to create users, asp.net core identity, or a new application as it is out of the scope of this article.
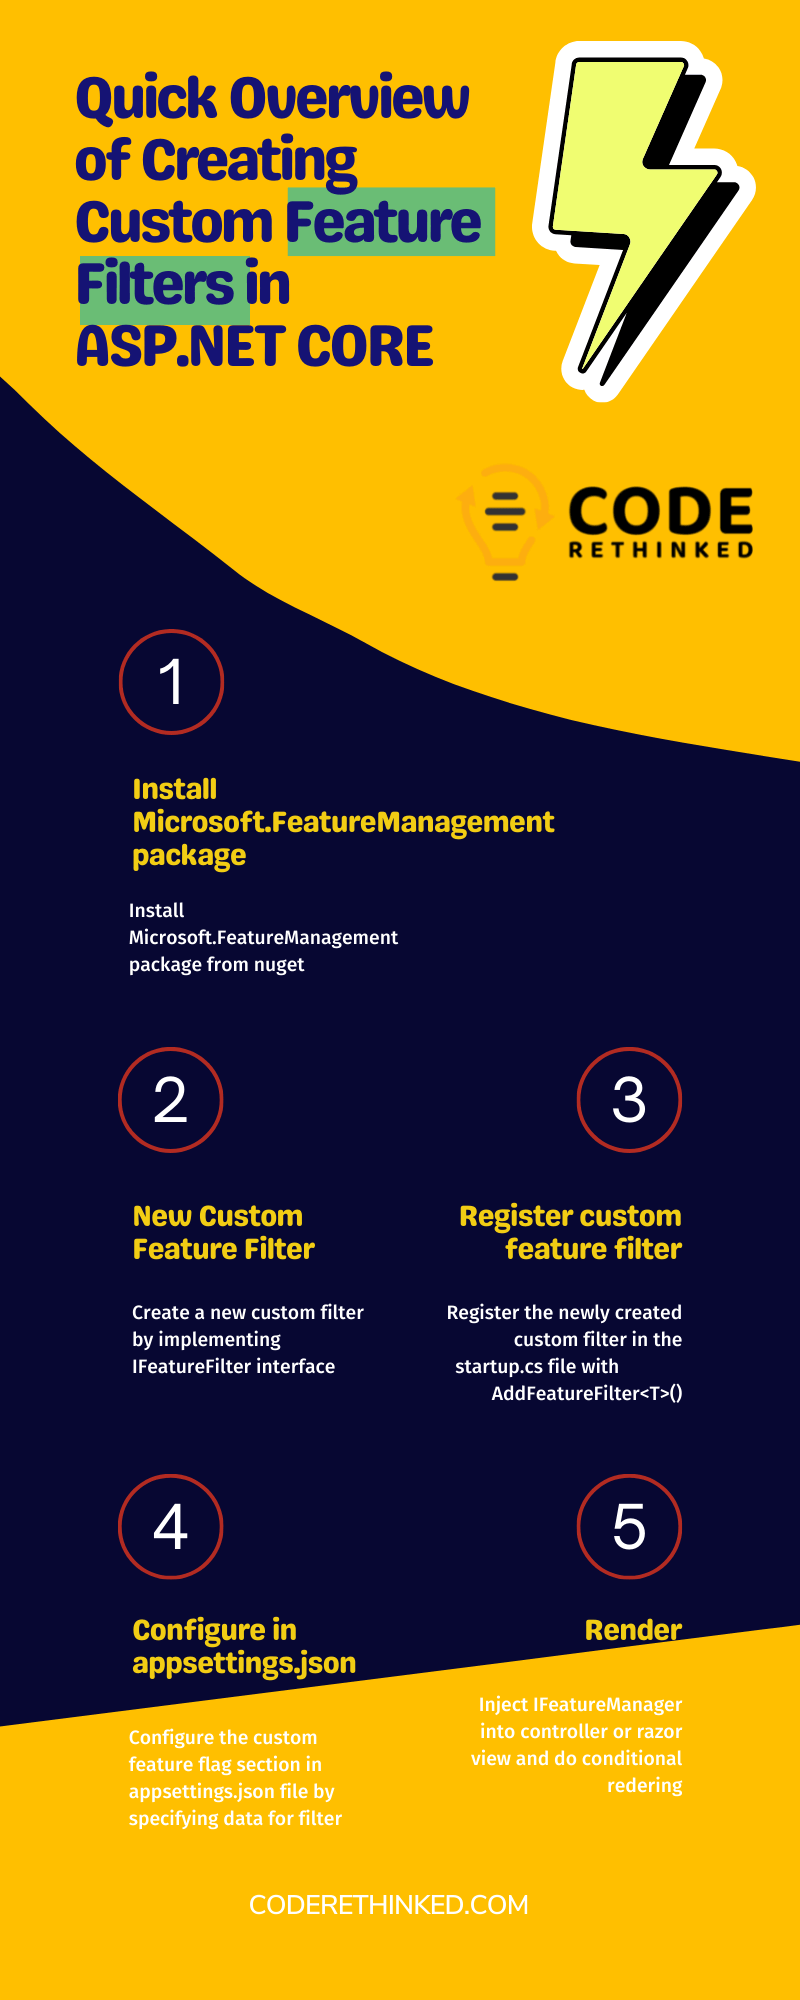
Quick Glance at Creating Custom Feature Filter
Before we dive in and write code to create a custom feature filter. Here is what we will be doing in this article.
Custom feature filter setup in appsettings.json file
Unlike the standard boolean feature flag which is set to either true/false, the custom feature flag is configured differently.
Here is how we configure our custom user feature filter
"FeatureManagement": {
    "SecretFeature": {
      "EnabledFor": [
        {
          "Name": "UserFeature",
          "Parameters": {
            "Email": [ "[email protected]" ]
          }
        }
      ]
    }
  }
Understanding EnabledFor section in Feature Management
Notice how the EnabledFor section is declared in the above appsettings.json file. We created an array of objects for EnabledFor property.
We can have multiple filters for the same feature flag item. If we declare multiple objects in the EnabledFor array they all would work like an OR filter for the feature flag.
Every object within the array of items in EnabledFor should have these two properties
- Name: The name of our custom feature filter. The name should match any of the custom feature filters we create.
In the above example, we declared the filter name as UserFeature. So, it looks for a feature filter class with the name “UserFeatureFilter” (Filter suffix is a convention here) - Parameters: This is where we set data for our filter. We can have multiple properties within the Parameters object and the properties can be of any type.
In the example above, Email is an array of items. For accessing the parameter values, we can create a settings class and get a strongly typed object out of it.
Creating a feature filter class
Assuming you have prior knowledge of how to install the Microsoft.FeatureManagement package and setting it up a feature flag. If you don’t, please check this article.
Let’s create a custom feature filter for the user filter.
To create a custom filter we have to implement the IFeatureFilter interface in our UserFeatureFilter class.
The IFeatureFilter interface has EvaluateAsync method which has to be implemented and it returns a boolean. The result of the method serves as the value of the feature flag for the current request.
Here is our UserFeatureFilter class.
public class UserFeatureFilter : IFeatureFilter
{
	private readonly IHttpContextAccessor _httpContextAccessor;

	public UserFeatureFilter(IHttpContextAccessor accessor)
	{
		_httpContextAccessor = accessor;
	}

	public Task<bool> EvaluateAsync(FeatureFilterEvaluationContext context)
	{
		var settings = context.Parameters.Get<UserFilterSettings>();
		var userIdentity = _httpContextAccessor.HttpContext?.User?.Identity;

		return Task.FromResult(settings.Email.Contains(userIdentity?.Name));
	}
}
And here is our UserFilterSettings class
public class UserFilterSettings
{
	public string[] Email { get; set; }
}
We are getting the parameters (Email) that are set for the filter in the appsettings.json file and we are matching the user identity name within the email array.
To know the user name from the HttpContext, we injected IHttpContextAccessor as a dependency to our filter class and the interface has to be registered in the startup.cs file.
IHttpContextAccessor should be used with caution. Our HttpContext on the IHttpContextAccessor instance may go null if there is no HttpContext.
Registering our custom feature flag in the startup.cs file
Let’s register our custom feature filter we created in the startup class and also the IHttpContextAccessor.
Within the ConfigureServices method, we register them like this:
services.TryAddSingleton<IHttpContextAccessor, HttpContextAccessor>();
services.AddFeatureManagement().AddFeatureFilter<UserFeatureFilter>();
And that’s it!
Demo
That’s it! Thanks for reading.
References
- IFeatureFilter interface
- IHttpContextAccessor interface
- Feature Flag Declaration
- Comprehensive Guide to feature management in ASP.NET Core
Karthik is a passionate Full Stack developer working primarily on .NET Core, microservices, distributed systems, VUE and JavaScript. He also loves NBA basketball so you might find some NBA examples in his posts and he owns this blog.


Pingback: Dew Drop – October 10, 2022 (#3782) – Morning Dew by Alvin Ashcraft